Metamask extension is a powerful tool that allows users to manage their cryptocurrencies directly from their web browser. With its user-friendly interface and secure features, logging into your crypto wallet using the Metamask extension is a simple and straightforward process. steps of logging into your wallet using the Metamask extension.
The first step is to install the Metamask extension on your web browser. Metamask is compatible with popular browsers like Google Chrome, Mozilla Firefox, and Brave. Simply visit the respective extension store for your browser, search for "Metamask," and click on the "Add to Chrome" or "Add to Firefox" button to install the extension.
Once the extension is installed, click on the Metamask icon in your browser's toolbar to launch it. You will be prompted to create a new wallet. Follow the on-screen instructions to set up your wallet. Choose a strong password and read and accept the terms and conditions.
During the wallet creation process, Metamask will provide you with a secret recovery phrase. This recovery phrase is a crucial security feature that allows you to regain access to your wallet if you forget your password or lose your device. Take the time to securely store your recovery phrase offline, in a safe and confidential place. It is recommended to write it down on a piece of paper and keep it in a secure location.
With your wallet created, you can now log in to it using the Metamask extension. Click on the extension icon in your browser's toolbar to open the Metamask popup. Enter your password and click on the "Unlock" button. Once authenticated, your wallet will be unlocked, and you will have access to your account.
After logging in, you need to connect Metamask to a blockchain network. By default, Metamask is connected to the Ethereum mainnet. However, you can choose to connect to other networks, such as the Ethereum testnet or custom networks. Click on the network name at the top of the Metamask popup, and a dropdown menu will appear. Select the desired network from the list.
If you already have an existing wallet that you would like to import into Metamask, you can do so by clicking on the account icon in the Metamask popup and selecting "Import Account." Enter your private key or recovery phrase to import your existing wallet into Metamask.
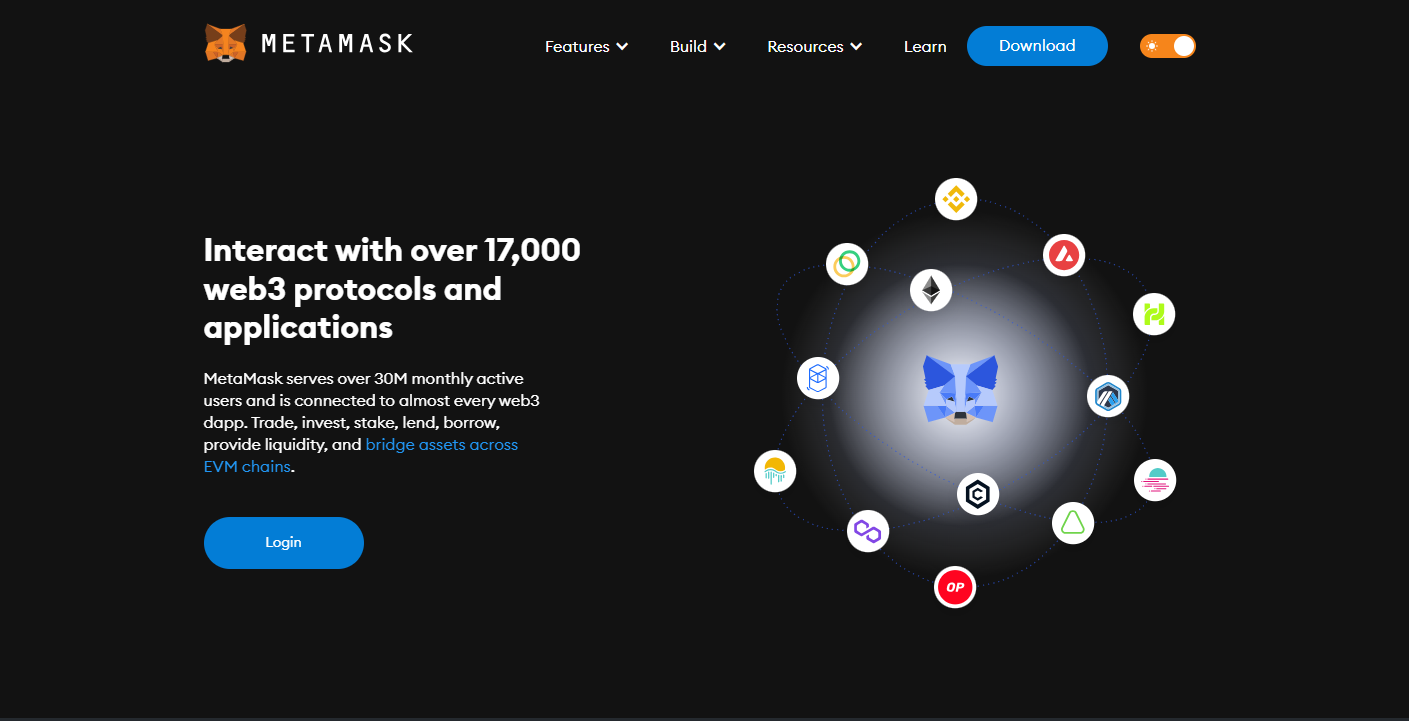
Once you are logged in and connected to a network, you can start managing your crypto assets using the Metamask extension. You can view your account balance, send and receive cryptocurrencies, and interact with decentralized applications (dApps) directly from your browser.
To ensure the security of your crypto assets, it is essential to stay informed and follow best practices. Keep your browser and Metamask extension up to date with the latest software versions to benefit from security patches and improvements. Be cautious of phishing attempts and only access your wallet through the official Metamask website or the Metamask extension.
If you have any questions or encounter any issues with the Metamask extension, there are resources available to assist you. The Metamask website provides helpful articles, guides, and contact information for their support team. Additionally, you can join the Metamask community forum to connect with other users and seek advice or share your experiences.
In conclusion, the login process for the Metamask extension is designed to be simple and user-friendly. By following these step-by-step instructions, you can quickly set up and log into your crypto wallet using the Metamask extension. Enjoy the convenience and security of managing your digital assets directly from your web browser with Metamask.